
Upload and use your own fonts
Updated 2 months ago
Fonts are set per element, from the Font dropdown in the Properties panel. Pick from the Google Fonts library, or upload your own font files and use them anywhere you'd use a built-in font.

Use a built-in font
Select a text element and open the Font dropdown. The All Fonts tab is the Google Fonts library, and each name is drawn in its own typeface so you can judge it from the list. Click a font to apply it to the selected element.
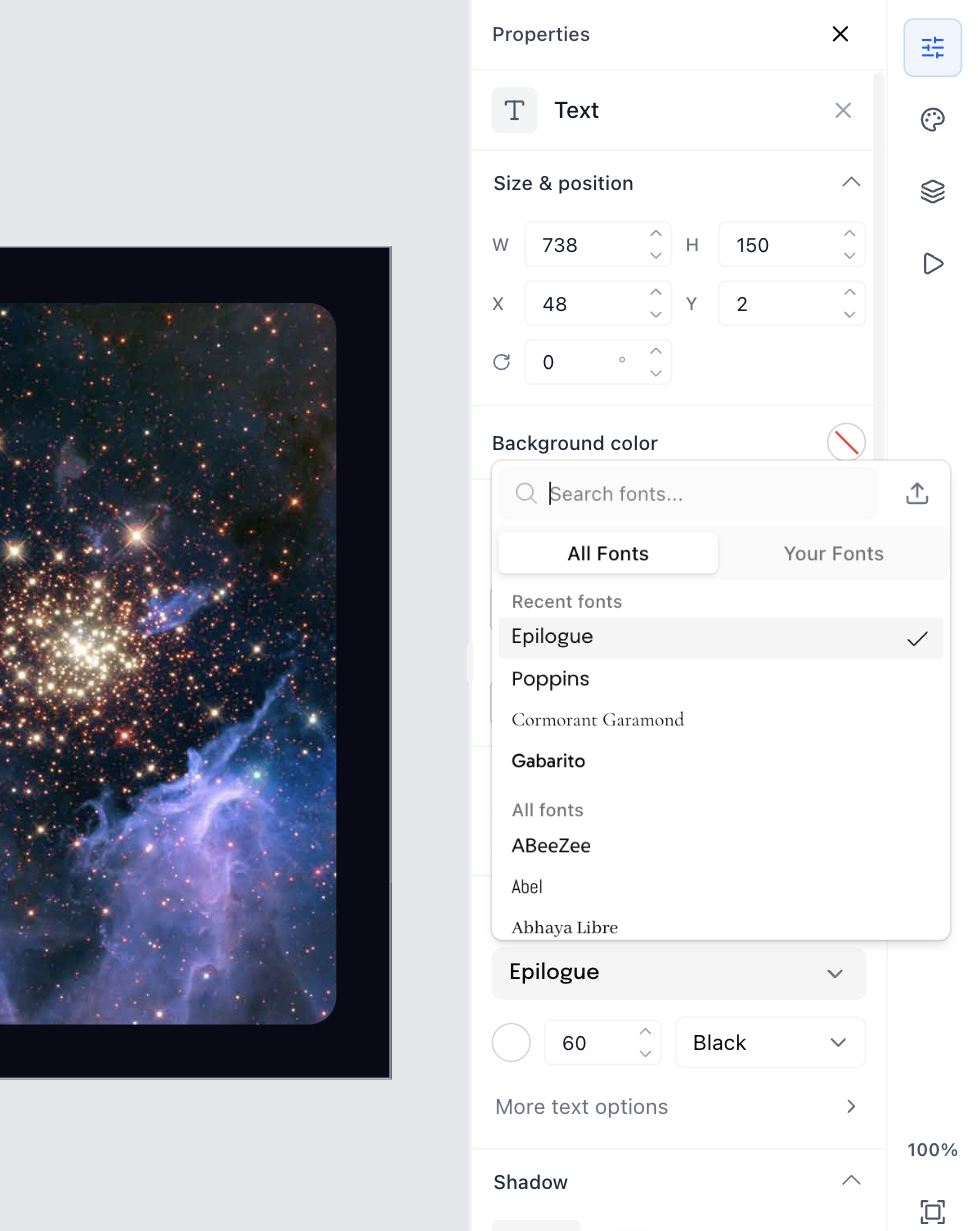
Type in the search box to narrow the list, and scroll to load more. Fonts you've applied recently are grouped under Recent fonts at the top. To set the fonts for a whole deck rather than one element at a time, use the Style Builder instead.
Upload your own font file
Click a text element on the canvas.
In the Properties panel, open the Font dropdown.
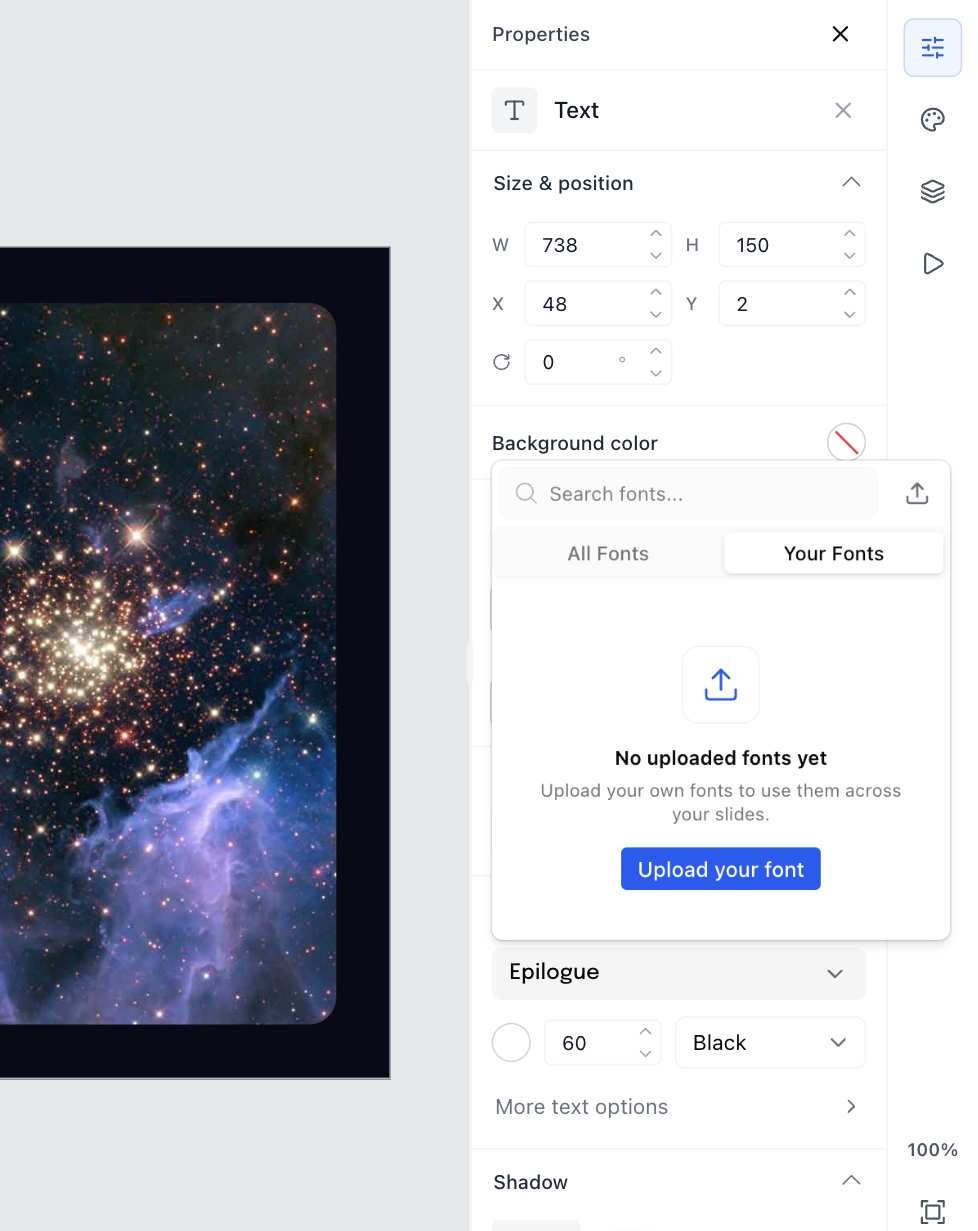
Switch to the Your Fonts tab and click Upload your font. The upload icon beside the search box does the same thing.
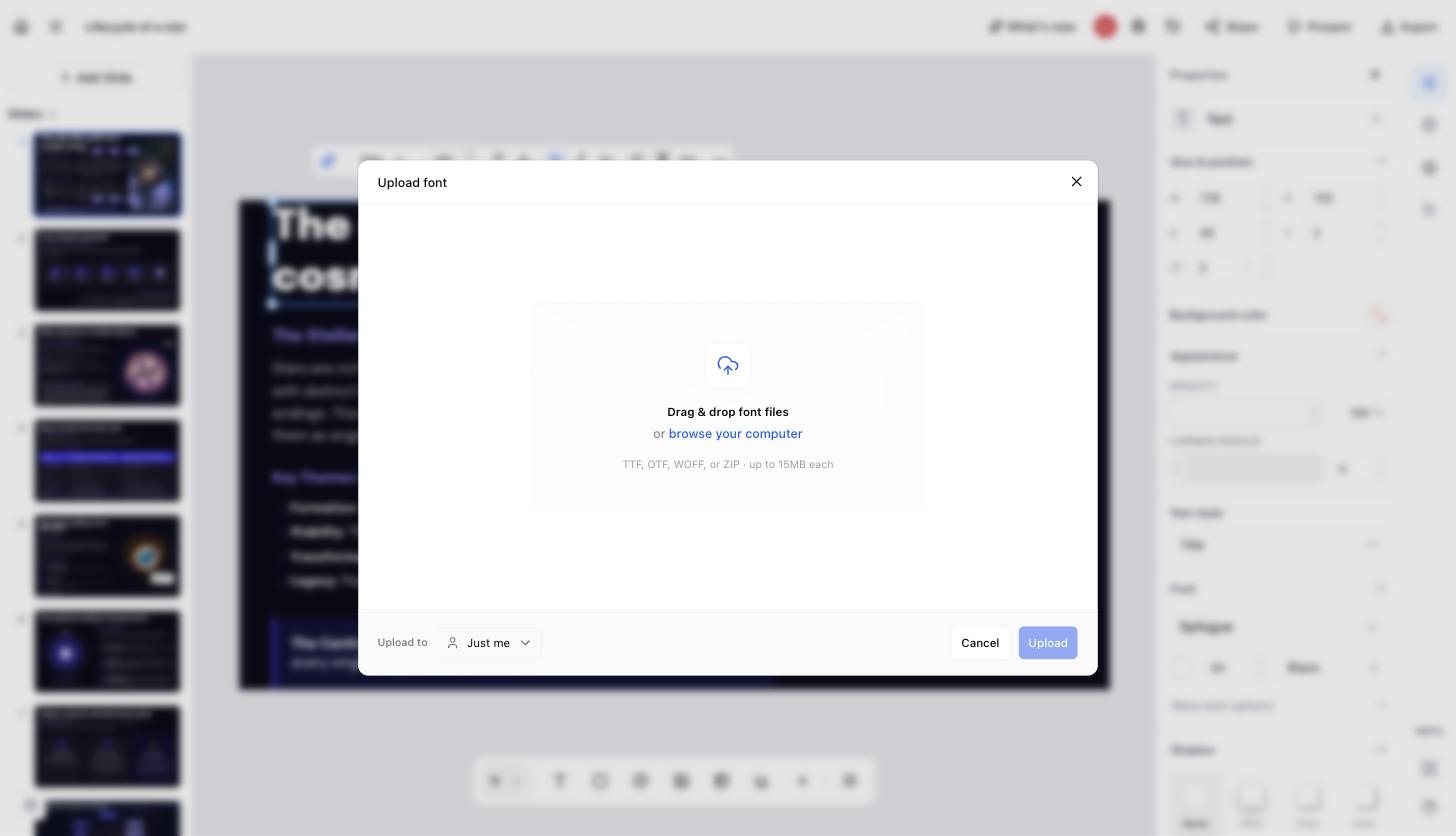
Drag your files onto the dialog, or browse for them.
Check the family name and the faces that were found.
Under Upload to, choose who gets the font.
Confirm that you're licensed to embed it.
Click Upload.
The dialog opens over the editor.
What you can upload
TTF, OTF and WOFF files are accepted, up to 15 MB each. You can also drop in a ZIP and every font file inside it is read at once, which is the quickest way to add a family with several weights. A file in the wrong format or over the size limit is rejected before upload, with the reason shown in the dialog.
WOFF2 is not supported. Files with that extension inside a ZIP are skipped and listed by name, so convert them to one of the three supported formats before uploading.
You need the right to embed any font you upload. Fonts whose licence restricts embedding are flagged by name in the dialog, but that check is advisory — confirming the licensing statement is what lets the upload through, and the responsibility stays with you.
Choose who can use it
Every upload has a destination, set under Upload to. It defaults to Just me, which keeps the font in your own font list.

Just me — only you can see and apply the font.
Your organization — everyone in the organization gets it, with the member count shown next to the name.
A team — only members of that team get it.
Check what you're uploading
Files are grouped into families before anything is sent, so you can correct the grouping rather than discovering a problem afterwards.
Each family lists the faces found in it, with their weight and whether they're italic.
Edit the Family name to change how the font is listed in the picker.
Remove a single face, or delete a whole family, before uploading.
Type your own Preview text and change the preview size to judge the font at the size you'll actually use.
Add more files to the same upload without starting again.
Use an uploaded font
Uploaded fonts sit in the Your Fonts tab, separate from the Google Fonts library under All Fonts. Each one shows a badge for where it came from, so a shared font is distinguishable from your own. The picker opens on whichever tab holds the font that's currently applied.
Uploaded fonts in exports
Custom fonts are embedded in PowerPoint exports, so your deck keeps its typography on a machine that doesn't have the font installed. WOFF and OTF files are converted to TTF during export, since that's the format PowerPoint embeds.